Drywall installation and repair are essential skills for homeowners and DIY enthusiasts. Mastering the art of working with drywall is not only about making your walls look good but also about ensuring stability and durability. Whether you’re dealing with new construction, remodeling, or minor repairs, understanding the basic techniques and tips can lead to professional-looking results. This article will guide you through the fundamental aspects of working with drywall, including preparation, installation, finishing, and repair.
Understanding Drywall
Before diving into the techniques, it’s vital to understand what drywall is. Drywall, also known as gypsum board, wallboard, or plasterboard, consists of gypsum plaster pressed between two thick sheets of paper. It is used to create walls and ceilings in residential and commercial buildings. The material is favored for its fire resistance, ease of installation, and cost-effectiveness.
Preparation: The Foundation of Success
Like any home improvement project, proper preparation is key to achieving the best results when working with drywall. Measure the space carefully and plan how the drywall sheets will be arranged. This step includes deciding on the size of the sheets and where to cut them to accommodate electrical outlets, windows, or doors.
Ensure that the framing to which the drywall will be attached is stable and straight. Any issues with the framing can lead to problems with the drywall, such as cracks or instability. Additionally, gather all the necessary tools and materials before starting the project to ensure a smooth workflow.
Installation Techniques
Installation of drywall requires precision and attention to detail. Start by installing panels on the ceiling before moving on to the walls, as this will provide additional support and create a seamless look. When attaching drywall to wood framing, use drywall screws spaced 8 to 12 inches apart. For metal framing, screws should be placed 6 to 8 inches apart.
It’s crucial to minimize the number of joints and to avoid aligning joints with door or window edges, as this can lead to cracking. When installing drywall around doors and windows, make sure to cut the panels accurately to ensure a snug fit, which will reduce the need for excess joint compound later on.
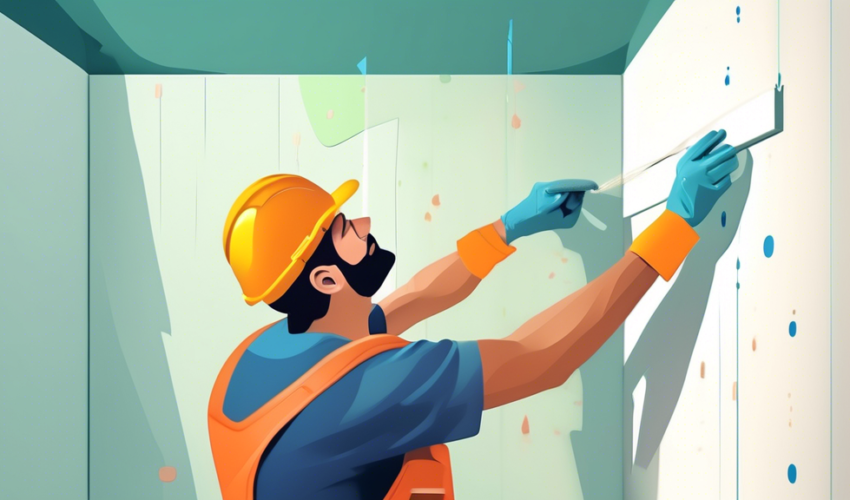
Finishing: The Art of Smooth Walls
Finishing is arguably the most critical phase in working with drywall because it determines the final appearance. The process involves taping the seams where panels meet, applying joint compound (also known as mud), and sanding the surface to a smooth finish. Use a thin layer of joint compound for the first coat, place the tape over the wet compound (using either paper or fiberglass tape), and then apply two more coats of mud, letting it dry and sanding it smooth between each coat.
For corners, use a corner tool to ensure a sharp, clean edge. When sanding, be careful not to over-sand, as this can damage the drywall’s surface or weaken the tape. Sanding should create a smooth transition between the compound and the drywall with no visible seams.
Drywall Repair
Over time, walls can suffer from wear and tear, resulting in dents, holes, or cracks. Small holes can be filled with spackling compound, while larger holes may require a patch made of a drywall piece. For cracks, use fiberglass mesh tape covered with joint compound for a strong, long-lasting repair. Always prime and paint the repaired area to match the surrounding wall, blending it seamlessly into the existing finish.
Conclusion
Mastering drywall requires patience, precision, and attention to detail. Whether you’re a seasoned professional or a beginning DIYer, following these essential techniques and tips can help you achieve durable and aesthetically pleasing walls and ceilings. Remember, practice is key to improving your skills, so don’t be discouraged by initial mistakes. Instead, view them as learning opportunities on your journey to mastering drywall.